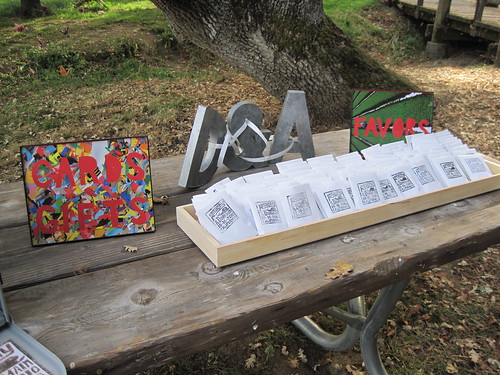
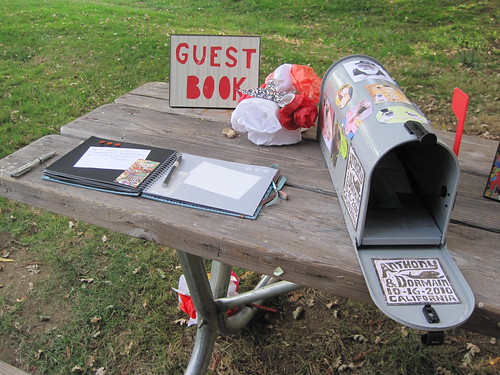
GB has some more great little DIY's from her beautiful wedding today. But I totally think these would be easy to do for a big thanksgiving party as well, don't you?
We already covered big chalkboard signs, which can either serve as big roadside signs to direct traffic or convey a ton of detailed menu information in one place. But there can be a need for lots of little signs, especially at an outdoor wedding, if only to label basic facilities or leave a message for guests.
First, a little sampling of small signs from weddings around the blogosphere:
I used the little signs to have some pops of color, using cut paper.
- First, I scoured some old magazines for full-page photos. A largely monochromatic image works best, or black and white photography. I got a little extra fancy by picking images that were relevant to what they would be conveying: I found a page of old-fashioned lined paper for our "guest book" sign since guests would be writing and for our "favors" sign, I found an image of growing crops since our favors were marigold seeds, etc.
- Next, I outlined where the letters would go BEFORE I started cutting. I find it helpful to center the middle letter(s) and work out from there. I also like to outline on the back side of the page to minimize markings, but that involves drawing the letters backwards, so use tracing paper if necessary.
- Then, I used a snap blade and cutting mat to cut out the letters. Tape a piece of construction paper underneath and trim any excess paper to fit into whatever sized frames you are using.
- BONUS step: Find some chunky frames at the thrift store and spray paint them to match the construction paper. Can't find chunky frames? Go to Ikea.
 |
| Photo credit: Sara V |
 |
| Photo credit: Sara V |


No comments:
Post a Comment